The borders of custom tray should extend upto the junction of the attached and unattached mucosal tissue. These can be determined at the chair side by observing and outlining the completed impression with an indelible marker or in the laboratory on the cast.
Once the custom tray is prepared on the primary cast, the border is marked 2-3 mm short of the intended denture border, so that it can be molded up to the proper extent during border molding.
Materials
Type I dental impression compound (sticks) is the most commonly used material for border molding. Other materials that can be used include impression waxes, polyether and silicone materials.
Advantages of compound
- Low cost.
- Ability to place it incrementally, observe the surface and trim it back or add more material, and then readapt the same periphery.
- Each addition and section of the tray border can be seamlessly adapted to the previous compound.
- *If polyethers or silicone materials are used, the entire periphery must be captured at once.
Technique (Movements)
The muscular movements can be made by the patient exclusively, or, the dentist can assist in movements on the buccal peripheries by manipulating and pulling the cheeks and lips. In case the patient has tissue attachments high on the ridge and denture border coverage is limited, it is recommended for the patient to perform the movements.
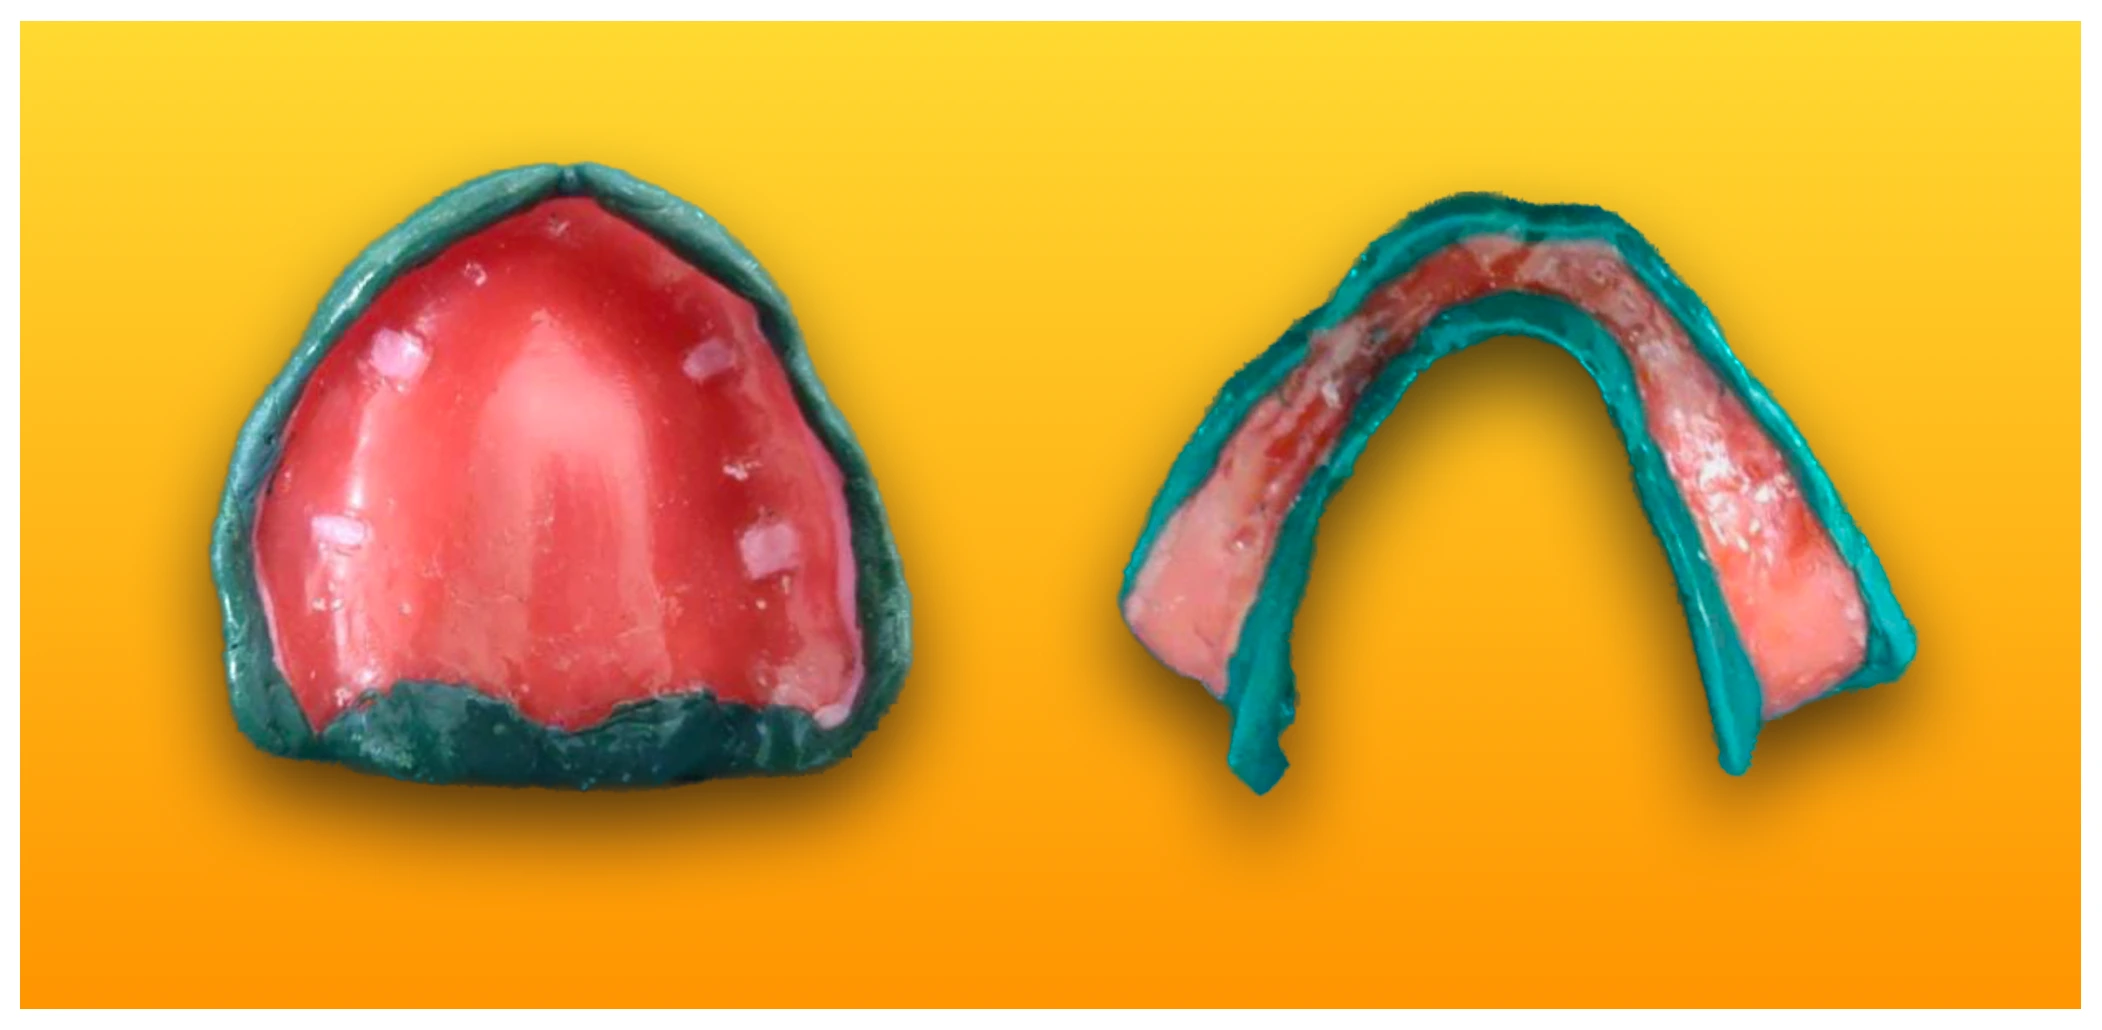
Maxillary border molding
-
Labial
- Prominence of the labial frenum is noted and duplicated.
- The patient is asked to make aggressive movement of the lips such as, pucker, sneer, open wide, grimace and smile.
- Also, the dentist can border mold by gently pulling the lips and cheeks.
-
Postero-lateral
- Width and height should be noted and duplicated.
- The patient is asked to move the mandible right and left.
-
Hamular notch
- Vertical notch of pterygomandibular raphe should be noted in impression.
- The material is pushed into the notch, and, the patient is asked to open the mouth wide and close against hand on chin.
-
Posterior vibrating line
- The line is observed while the patient says "ah" and the compound is trimmed to this line or area.
- Palpate the displacement bilaterally onto the displaceable tissues that border the hard palate and soft palate junction and place compound in a butterfly-shape border seal.
Mandibular border molding
-
Labial
- Prominence of frenum should be noted and duplicated.
- The patient is asked to make aggressive movement of the lips : puckers, sneers, opens wide, grimaces, and smiles.
-
Buccal shelf : The patient is asked to open wide, grimace and pucker.
-
Masseteric notch : The patient is asked to close against the hand on the chin.
-
Retromolar pad : The patient is asked to open wide and close against the hand on the chin.
-
Retromylohyoid fossa : The compound is pushed into the fossa area, and the patient is asked to lick the lower lip and left cheeks and swallow.
-
Lingual border : The patient is asked to lick the lower and upper lips, and right and left cheeks and to push tongue against the handle of the tray or the clinician's thumb. The border will gently curve under the tongue at premylohyoid area.
Points to Note
- Stability and retention should be maximised during border molding, with continued revision of the border extensions until the peripheral seal is ideal.
- Irrespective of the material used, if the tray shows through the molding, the tray is overextended and must be reduced and molded in that area again.
- The patient may not be able to swallow during border molding, but should be asked to swallow with disclosing paste on denture border to determine possible overextension in the retromylohyoid fossa.
- Tongue movement should be limited to licking the upper and lower lips, rather than maximum protrusion of tongue.
References
- Prosthodontic Treatment for Edentulous Patients Complete Dentures and Implant-supported Prostheses (13th edition) , Zarb, Hobkirk, Eckert, Jacob, Mosby Elsevier.
*This article is an excerpt from the above mentioned book and Medical Sutras does not make any ownership and affiliation claims.